
Strawberry Crumb Bars
This post may contain affiliate links. As an Amazon Associate I earn from qualifying purchases. Please read my disclosure policy.
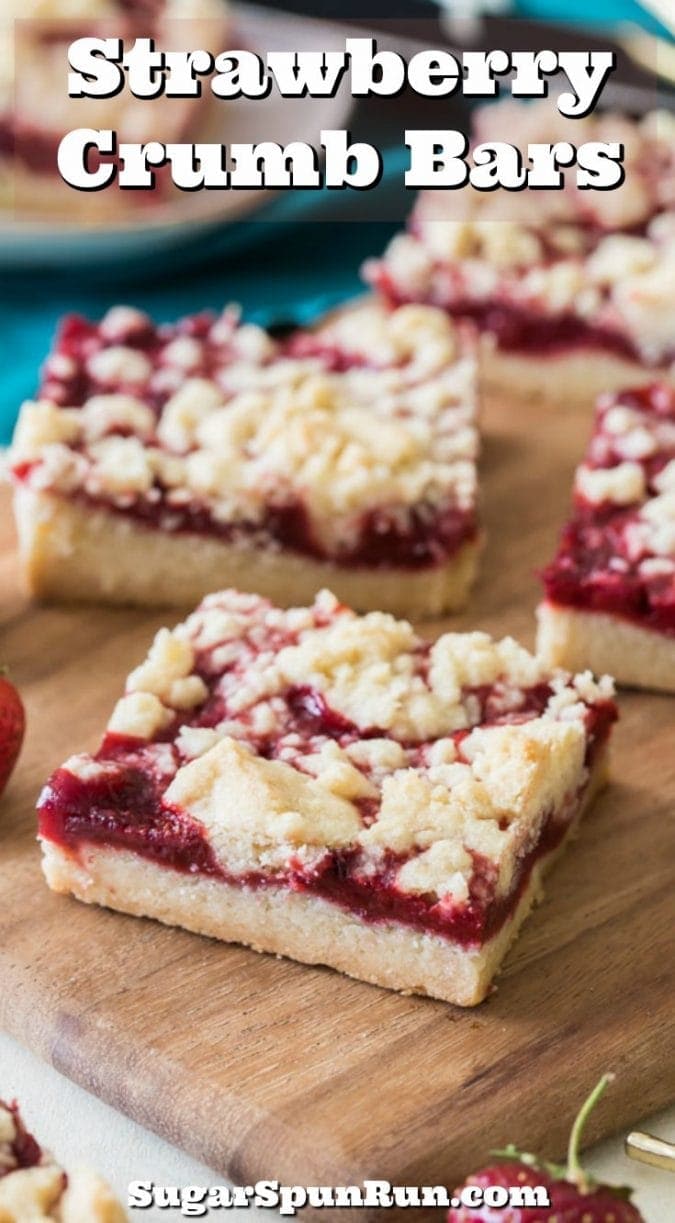
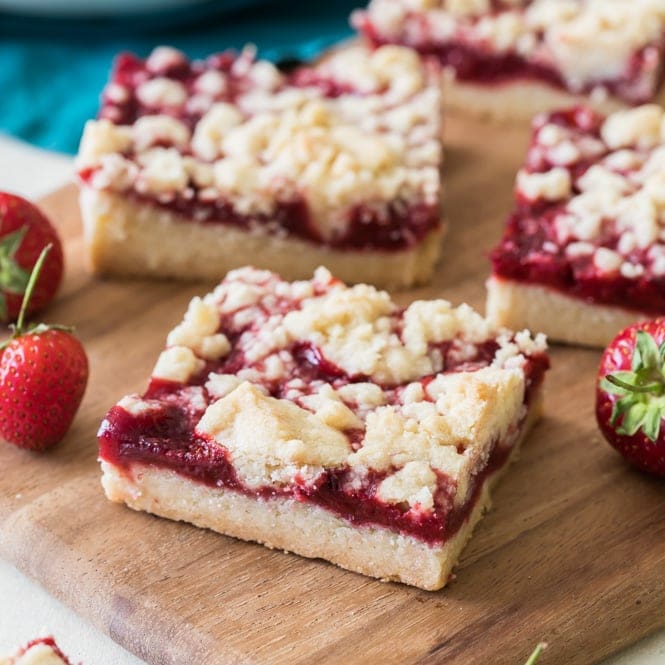
These Strawberry Crumb Bars are made with a buttery shortbread-esque crust and crumble topping and filled with a fresh, homemade strawberry jam center. Recipe includes a how-to video!

Today’s Strawberry Crumb Bars are a direct result of strawberry picking with absolutely no self control.
Every year that we go strawberry picking, Zach and I pick way more berries than we can possibly eat, and this year was no exception (so you can expect a few more strawberry recipes in the future!). In the past, I’ve used our surplus of berries to make Strawberry Pop Tarts, Strawberry Muffins, Strawberry Shortcake, and Strawberry Cream Cheese Pie. We’re adding to our strawberry collection today with these Strawberry Crumb Bars.
With a buttery crust, tender, shortbread-like crust, a fresh strawberry jam filling, and that golden brown crumbly topping, these strawberry crumb bars are absolutely irresistible. While I used fresh-picked strawberries for today’s recipe, they’ll be every bit as good with the kind you buy at the store.
How to Make Strawberry Crumb Bars
First, Make your Filling
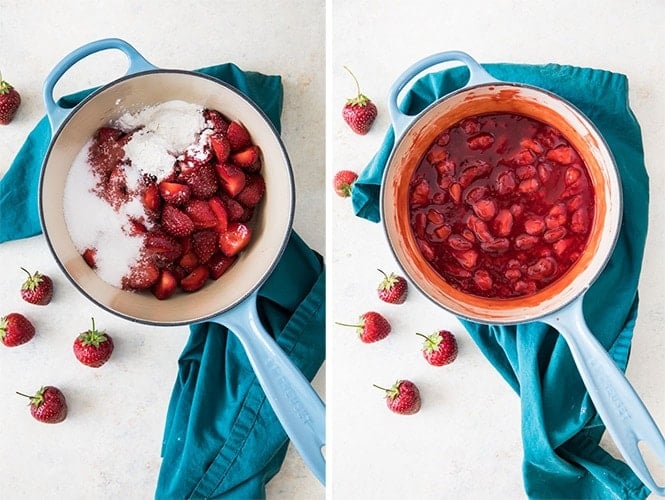
- Make your filling first (see photos above) so that it has some time to cool before you pour it into your crust. Combine strawberries, sugar, cornstarch, lemon juice, and salt in a saucepan and cook until your berries release their juices.
- Bring everything to a boil, then add more strawberries and continue to cook another minute or so until the filling is thickened.
- Let the filling cool while you prepare your crumble.
Make your Crust & Crumble Topping
My food processor has been getting quite the workout lately. Between my pie crust, my peach cobbler, and today’s strawberry crumb bars it’s become one of the most-used tools in my kitchen (this is the food processor I use). Today it’s going to make quick work of our crust and crumble.
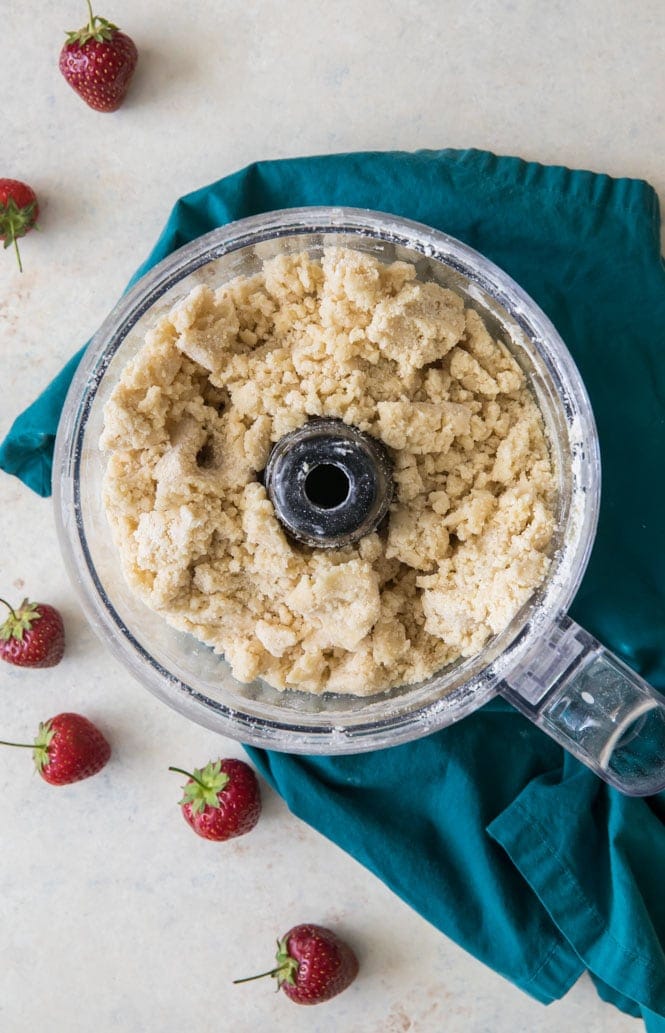
- Combine flour, sugar & brown sugar, baking powder, cornstarch, and salt in food processor. Pulse until ingredients are combined.
- Cut 1 cup of cold butter into 16 pieces and scatter the pieces over your flour mixture. Pulse again until the butter is cut into your flour mixture and the mixture resembles coarse crumbs.
- Add egg yolk and vanilla extract. Process until mixture is crumbly but beginning to stick together (see image below, if you pinch the dough it should stick together but it should still be crumbly).
Assemble!
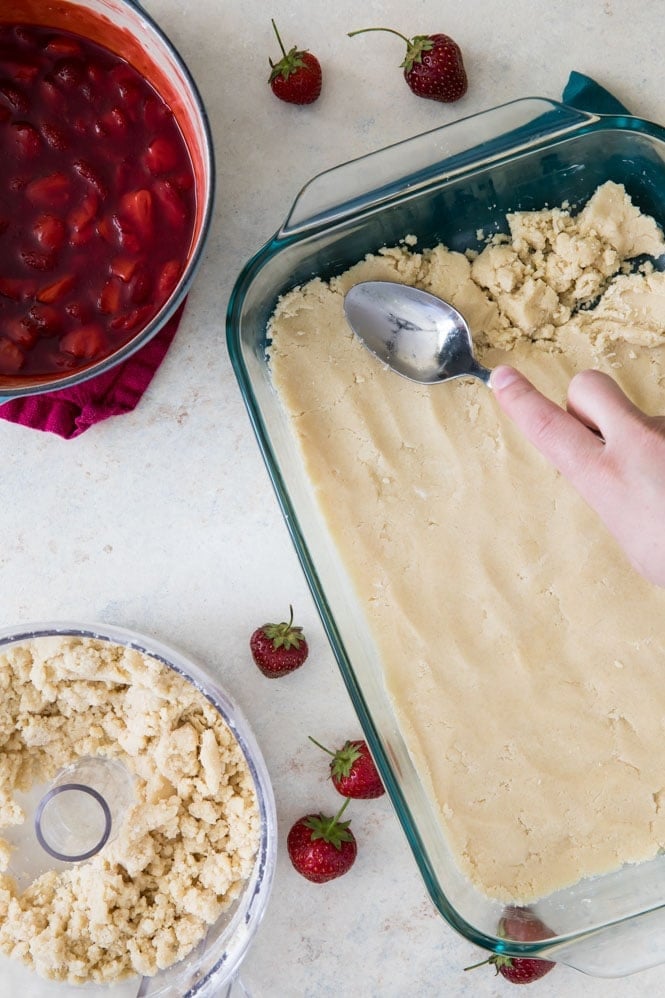
- Pour half of your crumble mixture into a lightly buttered 13×9 baking dish. Use your hands or the back of a spoon to press the dough into an even layer to form your crust.
- Pour your strawberry mixture evenly over the crust layer.
- Use your hands to distribute/crumble the remaining dough over the top of the berries.
- Bake until the top layer is a light golden brown!
Tips for Making Strawberry Crumb Bars
You’re going to want to use a food processor
For a few of my pastry recipes (like my pie crust and scones) I recommend using a food processor, but a pastry cutter will work if you don’t have one. However, the crumble layer for this recipe is very dry, and if you try to cut everything together by hand, you’re going to have a tough time. It’s not impossible, but be prepared for a serious arm workout.
Let it Cool
While these strawberry crumb bars are still warm, they’re going to be almost impossible to slice. Let the bars cool completely before slicing, at least if you want to be able to pick them up and eat them. If you’re impatient, you can just scoop your crumb bars by the spoonful onto a plate and enjoy warm topped with ice cream. They’re pretty good that way, too.

Enjoy!
More Recipes You Might Like:
Let’s bake together! Be sure to check out my video at the bottom of the recipe where I’ll show you exactly how I make these strawberry crumb bars in my own kitchen! If you enjoy watching, make sure to subscribe to my YouTube channel where I’ve already uploaded over 150 recipe videos that you can watch for free!
Strawberry Crumb Bars

Ingredients
- 5 cups (700 g) strawberries, tops removed, quartered, divided
- ½ cup (100 g) granulated sugar
- 2 Tablespoons cornstarch
- 1 Tablespoon lemon juice
- ⅛ teaspoon salt
- 1 Tablespoon butter
Crumb layers
- 3 ¼ cups (405 g) all-purpose flour
- ¾ cup (150 g) granulated sugar
- ¼ cup (50 g) light brown sugar, tightly packed
- ½ teaspoon baking powder
- 1 teaspoon cornstarch
- ½ teaspoon salt
- 1 cup (227 g) unsalted butter, cold, cut into small cubes
- 1 large egg yolk
- ½ teaspoon vanilla extract
Instructions
- Preheat oven to 350F (175C) and lightly butter the sides and bottom of a 9x13 glass baking dish¹. Set aside.
- In a medium-sized, heavy-bottomed saucepan, combine 3 ½ cups strawberries (490g), sugar, cornstarch, lemon juice, and salt over medium-low heat.½ cup (100 g) granulated sugar, 2 Tablespoons cornstarch, 1 Tablespoon lemon juice, ⅛ teaspoon salt
- Stir frequently until strawberries release their juices (about 5 or so minutes), then increase heat to medium/medium-high and bring mixture to a boil, stirring constantly.
- Boil for one minute (still stirring) then stir in remaining strawberries.
- Cook for another minute, then remove from heat. Add butter and stir until butter is melted. Allow mixture to cool while you prepare your crumble mixture.1 Tablespoon butter
For Crumble
- I strongly recommend using a food processor and not a pastry cutter for this step, as it’s a very dry mixture that will take a long time to work to the proper consistency manually.
- To prepare crumble layer, combine flour, granulated sugar, brown sugar, baking powder, cornstarch, and salt in the basin of a food processor. Pulse until combined.3 ¼ cups (405 g) all-purpose flour, ¾ cup (150 g) granulated sugar, ¼ cup (50 g) light brown sugar, ½ teaspoon baking powder, 1 teaspoon cornstarch, ½ teaspoon salt
- Scatter butter pieces evenly over flour mixture and pulse until mixture resembles coarse crumbs.1 cup (227 g) unsalted butter
- Add egg and vanilla extract and continue to blend until mixture is just beginning to cling together and holds together if you press the dough together with your fingers.1 large egg yolk, ½ teaspoon vanilla extract
- Pour approximately one half of the crumble mixture into your prepared pan and use your hands or the back of a spoon to evenly press the crumble mixture into your pan (see image in post for visual).
- Pour strawberry mixture over crumb crust and spread so that it is evenly distributed. Use your hands to scatter remaining crumble mixture evenly over the top of the strawberry layer.
- Transfer to 350F (175C) oven and bake for 50-60 minutes or until the top layer is just beginning to turn golden brown.
- Allow to cool for 1-2 hours before slicing and serving (strawberry crumb bars will fall apart if sliced while they’re still warm, but they do taste good warm and messy topped with vanilla ice cream!).
Notes
¹Baking dish
If you opt to use a metal baking dish, the bake time may need to be reduced as your bars will cook faster.Storing
Store in an airtight container at room temperature for up to 2-3 days or in the refrigerator for up to five days.Gluten-free note
I have not tried it myself, but others have successfully made this recipe with Cup4Cup gluten-free flour.Nutrition
Nutrition information is automatically calculated, so should only be used as an approximation.
Like this? Leave a comment below!


These are SO DELICIOUS & took A LOT less time than anticipated. The food processor really helps speed up the process.
Thank you for another great recipe & the instructions to go with it–helps A LOT!!
Thank you so much for trusting my recipes, Mary Ann! I’m so glad everything has been such a hit! 🙂
This looks delicious! I grow raspberies and have tons. Can I replace strawberries with raspberries?
Thank you Sam,
Candice
Hi Candice! I haven’t personally tried it, but others have commented they have used raspberries with success. 🙂
can you use frozen strawberries
Hi Carol! Frozen should work just fine. 🙂
If you don’t have a food processor you can still make this recipe. I just recommend freezing the butter and using a cheese grater, mine came out fantastic!
Thank you so much for trying my recipe, Brittany! I am so glad you enjoyed these so much! 🙂
Great recipe! Easy and the strawberry filling sounds delicious!
I do not have a food processor though.
Can I use a blender on pulse?
Hi Susan! I’m not sure the blender would work the same way. You can try working it together by hand, but it’s going to be a serious arm workout. Let me know how it turns out for you if you try it. 🙂